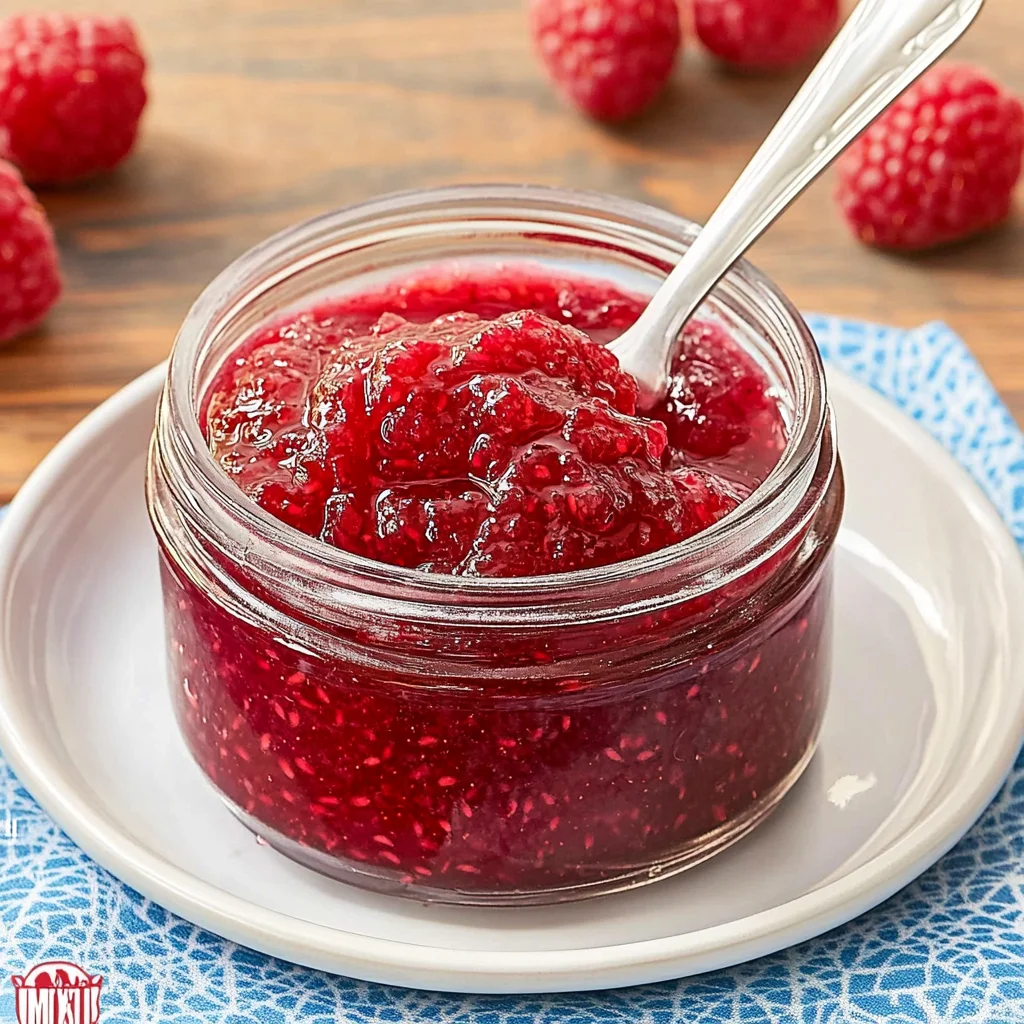
Imagine waking up to the sweet, tangy aroma of homemade raspberry jam wafting through your kitchen, as you spread that ruby-red delight on warm, buttery toast. The burst of fresh raspberry flavor dances on your palate, with a hint of sweetness that brings back memories of sun-soaked summer days spent picking berries with friends and family.
Now picture yourself at a cozy brunch, where this raspberry jam recipe takes center stage among a feast of pastries and pancakes, enticing everyone to dive in for a taste. Each spoonful promises not just deliciousness but a delightful trip down memory lane, making it the perfect companion for any occasion—whether it’s a lazy Sunday morning or an elegant dessert topping that leaves everyone asking for seconds.
Why Will You Keep Making raspberry jam recipe?
Freshness is key! This recipe uses 4 cups of vibrant raspberries, ensuring every bite bursts with flavor. Quick prep time of just 15 minutes means you can whip up a batch in no time. Versatile and delicious, this jam is perfect for toast, desserts, or even as a topping for yogurt. Plus, with only 4 simple ingredients, it’s an easy way to impress family and friends! You’ll find yourself reaching for this homemade delight again and again.
raspberry jam recipe Ingredients
- For the Jam
- 4 cups fresh raspberries (washed and stems removed) – Choose juicy, ripe raspberries for the best flavor and natural sweetness in your homemade jam.
- For Sweetening
- 2 cups granulated sugar – Adjust according to your sweetness preference, but this amount balances the tartness of the raspberries beautifully.
- For Thickening
- 1 package fruit pectin (such as Sure-Jell) – This helps achieve that perfect spreadable consistency in your raspberry jam recipe.
- For Acidity
- 1 tablespoon fresh lemon juice – The acidity enhances the flavors and helps preserve the jam longer.
Directions: raspberry jam recipe
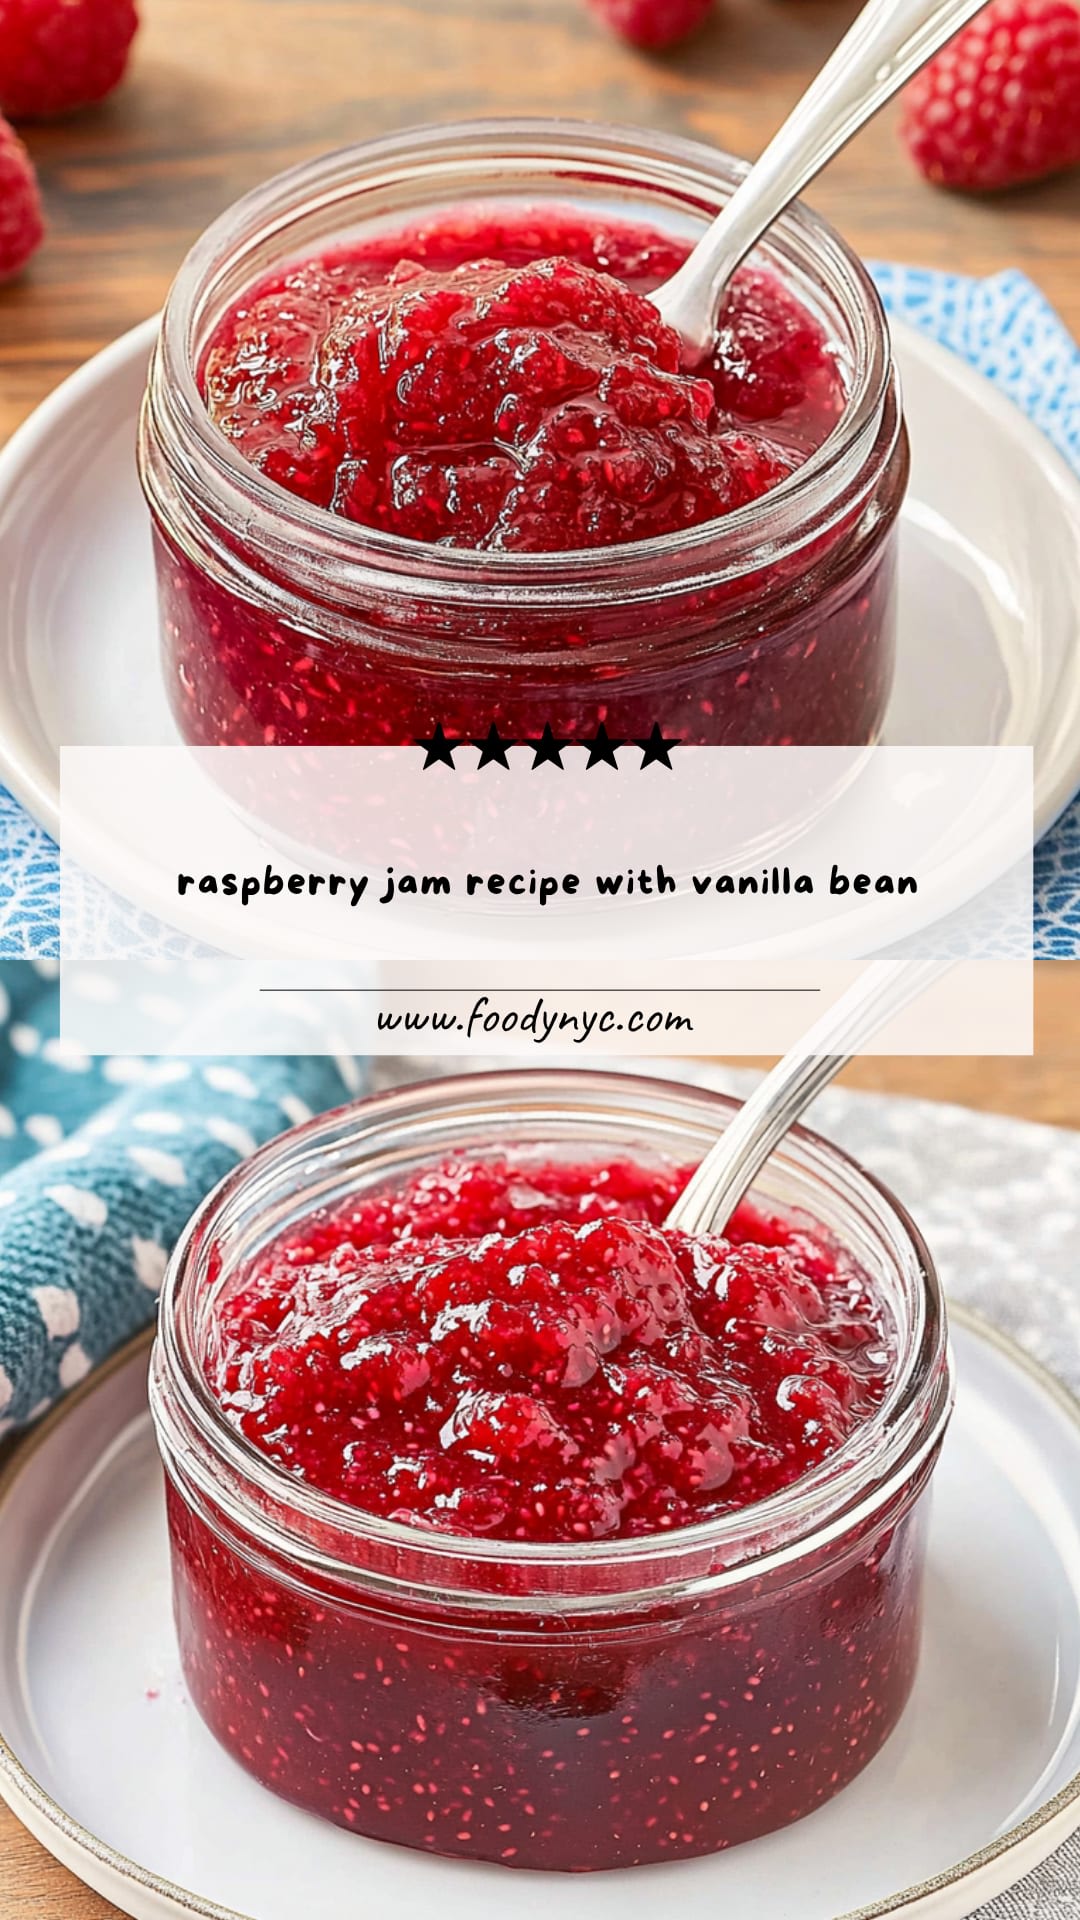
1. Combine Ingredients: In a large saucepan, combine 4 cups of fresh raspberries (washed and stems removed) with 1 tablespoon of fresh lemon juice. Crush the raspberries gently with a wooden spoon to release their juicy goodness.
2. Add Sugar and Pectin: Stir in 2 cups of granulated sugar (adjust based on your sweetness preference) along with 1 package of fruit pectin (like Sure-Jell). Mix well, then bring the mixture to a boil over medium heat, watching for that beautiful bubbling action!
3. Cook the Jam: Once boiling, continue cooking for 10-15 minutes, stirring frequently. You’ll notice the mixture thickens, transforming into a vibrant ruby-red jam. Keep an eye on it; it should be thick enough to coat the back of a spoon.
4. Skim Foam and Jar: Remove the saucepan from heat and skim off any foam that forms on top. Carefully pour the hot jam into sterilized jars using a canning funnel, leaving about 1/4 inch headspace for expansion.
5. Seal and Process: Seal the jars tightly with lids and process them in a boiling water bath for 5-10 minutes to ensure they’re sealed properly. This step is vital for long-lasting freshness!
6. Cool Completely: Allow the jars to cool completely at room temperature before storing them in a cool, dark place. The anticipation will be worth it when you spread this delicious jam!
Optional: Enjoy your jam on warm toast or as a filling for pastries.
Exact quantities are listed in the recipe card below.
Expert Tips
- Raspberry Selection: Use ripe, fresh raspberries for the best flavor. Overripe or mushy berries may lead to a runny consistency in your jam.
- Sugar Adjustments: Feel free to reduce the sugar slightly if you prefer a less sweet raspberry jam recipe, but keep in mind it may affect the setting.
- Pectin Awareness: Ensure you’re using a high-quality fruit pectin like Sure-Jell. Different pectins have varying gelling strengths, which can alter the final texture.
- Crushing Technique: Crush the raspberries thoroughly; this helps release their natural juices and ensures a smoother jam without lumps.
- Skimming Foam: Don’t skip skimming off foam after cooking. It not only improves appearance but also helps with the sealing process in your jars.
- Sealing Properly: Follow the water bath processing times closely; under-processing can lead to jars that don’t seal properly, risking spoilage.
How to Store and Freeze raspberry jam recipe
- Room Temperature: Once opened, homemade raspberry jam can sit at room temperature for up to 1 week if stored in a cool, dark place. Always ensure the lid is tightly sealed.
- Fridge: For longer freshness, keep your raspberry jam recipe in the refrigerator where it will last up to 3 weeks. Use an airtight container for best results.
- Freezer: If you want to store it for several months, freeze your raspberry jam in freezer-safe containers or bags. It can last up to 1 year when properly sealed.
- Thawing: When ready to enjoy, thaw your frozen raspberry jam in the fridge overnight. Stir well before serving to restore its silky texture.
raspberry jam recipe Your Way
Feel free to get creative and personalize this delightful spread to suit your taste buds!
- Herbal Infusion: Add 1-2 tablespoons of fresh mint or basil for a refreshing twist. The herbal notes beautifully complement the sweet-tart raspberries, creating a unique flavor that’s perfect for summer.
- Spicy Kick: Incorporate a pinch of cayenne or red pepper flakes for heat. This unexpected zing enhances the jam’s sweetness, making it an exciting addition to savory dishes or cheese boards.
- Citrus Zest: Mix in the zest of one orange or lemon before cooking. This will elevate the brightness of your jam, infusing it with a zesty aroma that’s simply irresistible.
- Vanilla Bliss: Stir in 1 teaspoon of pure vanilla extract at the end of cooking. The warm, comforting essence of vanilla harmonizes with the raspberries, offering depth and richness to each spoonful.
- Mixed Berry Medley: Replace half of the raspberries with strawberries or blueberries. This blend adds complexity and color, creating a vibrant jam that’s bursting with summer flavors.
- Chia Seed Boost: Substitute pectin with 1/4 cup chia seeds for a healthier option. This not only thickens the jam but also adds nutritional benefits, making it great for those seeking healthier alternatives.
- Wine Infusion: Add a splash (about 1/4 cup) of red wine during cooking. The wine brings out the fruitiness while adding a sophisticated undertone, perfect for gourmet desserts or cheese pairings.
- Creamy Twist: For a decadent treat, mix in 1/2 cup mascarpone cheese once the jam cools. This creates a luscious spread that’s perfect for elegant brunches or afternoon tea.
Make Ahead Options
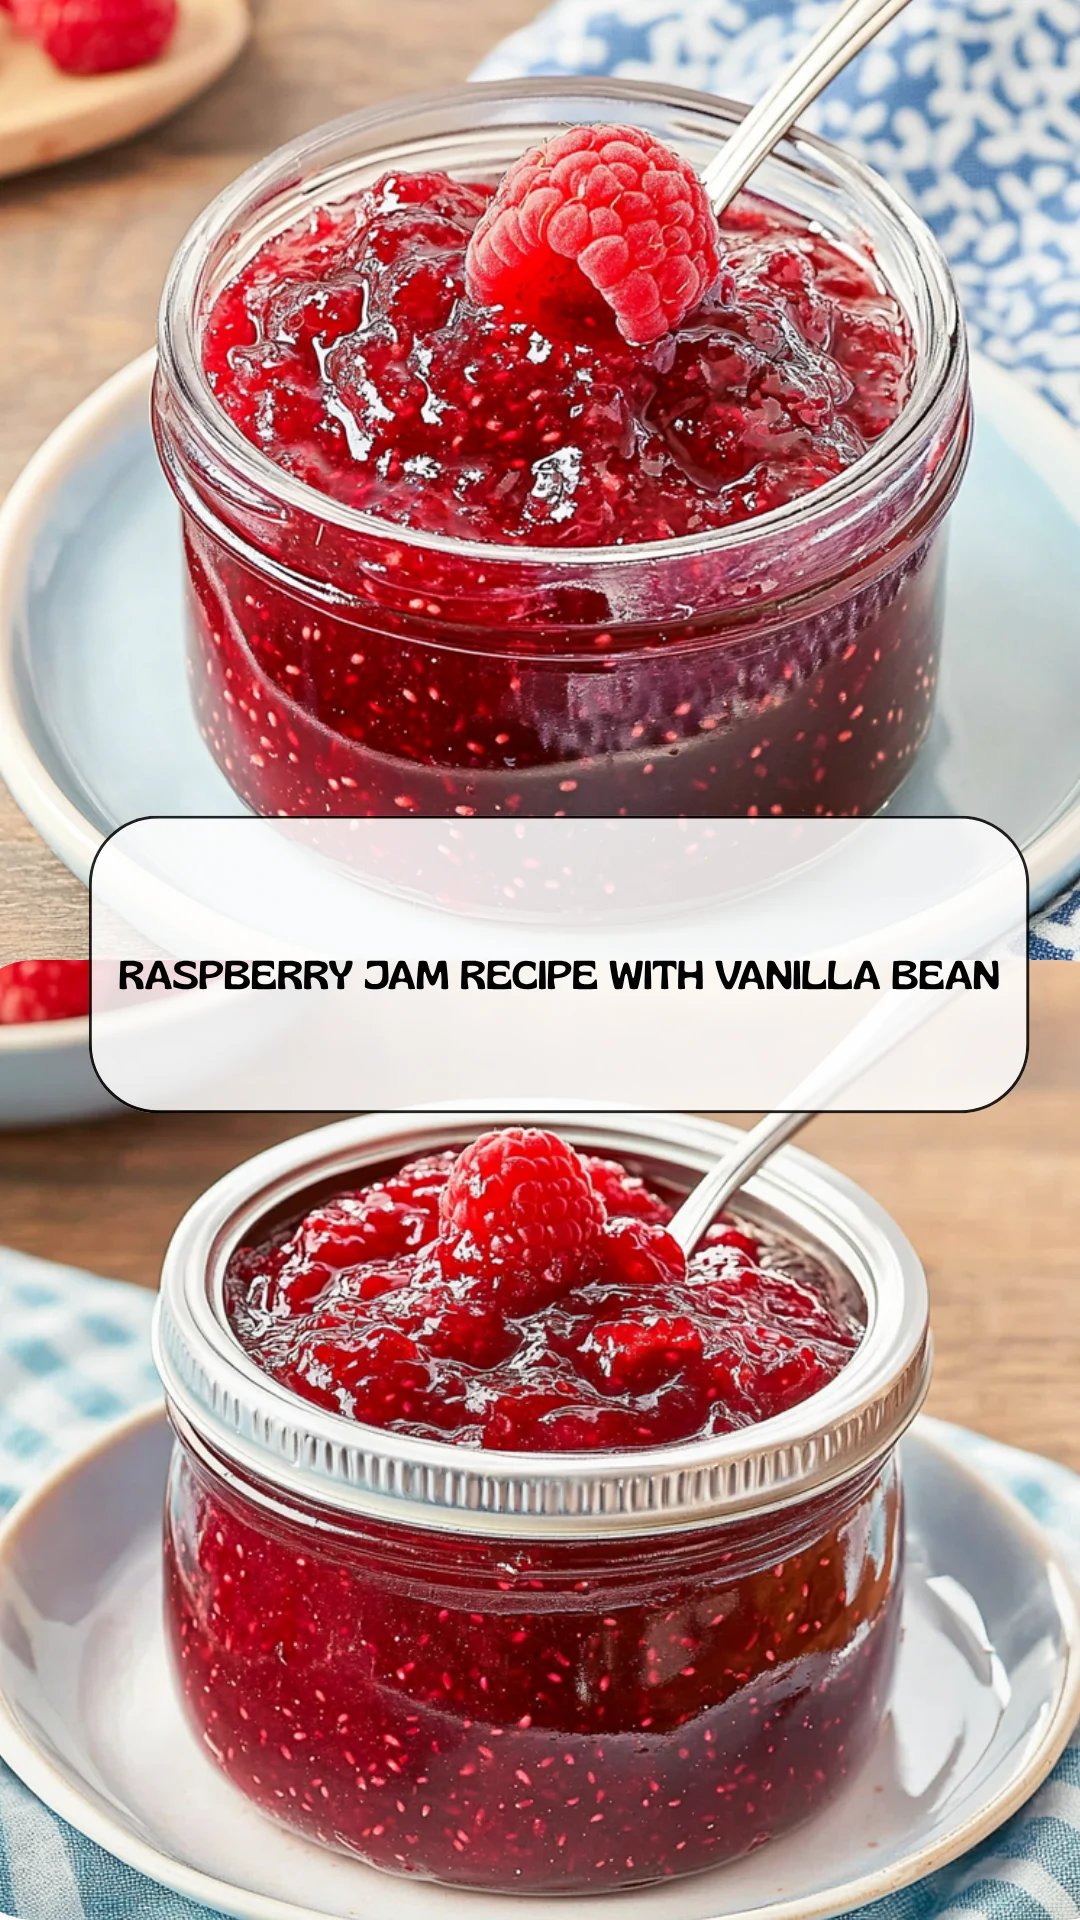
This raspberry jam recipe is perfect for meal prep, allowing you to enjoy the sweet taste of summer all year round. You can wash and stem the 4 cups of fresh raspberries and mix them with 1 tablespoon of lemon juice up to 24 hours in advance, keeping them fresh in the refrigerator. When you’re ready to finish your jam, simply follow the steps: combine the raspberries and lemon juice in a large saucepan, crush them to release their juices, add 2 cups of granulated sugar and a package of fruit pectin, then bring it all to a boil. After cooking for about 10-15 minutes until thickened, jar your delicious creation and process it in a boiling water bath for 5-10 minutes. To maintain quality, ensure your jars are sterilized properly and store them in a cool, dark place for optimal flavor retention.
raspberry jam recipe Questions Answered
What type of raspberries should I use for this jam?
Fresh, ripe raspberries are ideal for this raspberry jam recipe. Look for berries that are plump, fragrant, and free from blemishes. If you can’t find fresh ones, frozen raspberries can work in a pinch—just thaw them completely and drain excess liquid before using.
Can I reduce the sugar in my raspberry jam?
Absolutely! While the classic sweetness from 2 cups of granulated sugar balances the tartness of the raspberries, feel free to adjust according to your taste. You might consider using 1.5 cups or even experimenting with a sugar substitute that’s designed for canning. Keep in mind that reducing sugar may affect the texture and preservation qualities slightly.
How long should I process the jars in a boiling water bath?
For this raspberry jam recipe, sealing your jars properly is crucial for shelf stability. Process them in a boiling water bath for 5-10 minutes once filled. If you’re at a higher altitude, you may need to add an additional few minutes to ensure they seal well.
What’s the best way to store my homemade raspberry jam?
Once cooled completely at room temperature, store your jars of raspberry jam in a cool, dark place like a pantry or cupboard. Properly sealed and stored, your jam can last up to a year. Once opened, keep it in the refrigerator and consume within 2-3 weeks.
Can I freeze my raspberry jam instead of canning it?
Yes! Freezing is a fantastic option if you’re not ready to can your jam. After making it, let it cool completely and then transfer it into freezer-safe containers or bags, leaving some space at the top for expansion. It will maintain its flavor and quality for up to one year in the freezer.
What should I do if my jam didn’t thicken properly?
If your raspberry jam turns out runny after cooking, don’t fret! You can re-cook it by adding another tablespoon of pectin mixed with a bit of sugar (about 1/4 cup), bringing it back to a boil while stirring frequently until thickened again. This usually takes about 5-10 minutes more on medium heat—check for that lovely thick consistency before pouring it back into jars!
Raspberry Jam
Ingredients
Method
- In a large saucepan, combine the raspberries and lemon juice. Crush the raspberries with a wooden spoon to release their juices.
- Add the sugar and pectin to the saucepan. Stir well to combine and bring the mixture to a boil over medium heat.
- Once boiling, continue to cook for 10-15 minutes, stirring frequently, until the jam thickens.
- Remove the saucepan from heat and skim off any foam. Pour the hot jam into sterilized jars using a canning funnel, leaving about 1/4 inch headspace.
- Seal the jars with lids and process in a boiling water bath for 5-10 minutes to ensure they are sealed properly.
- Allow the jars to cool completely at room temperature. Store in a cool, dark place.