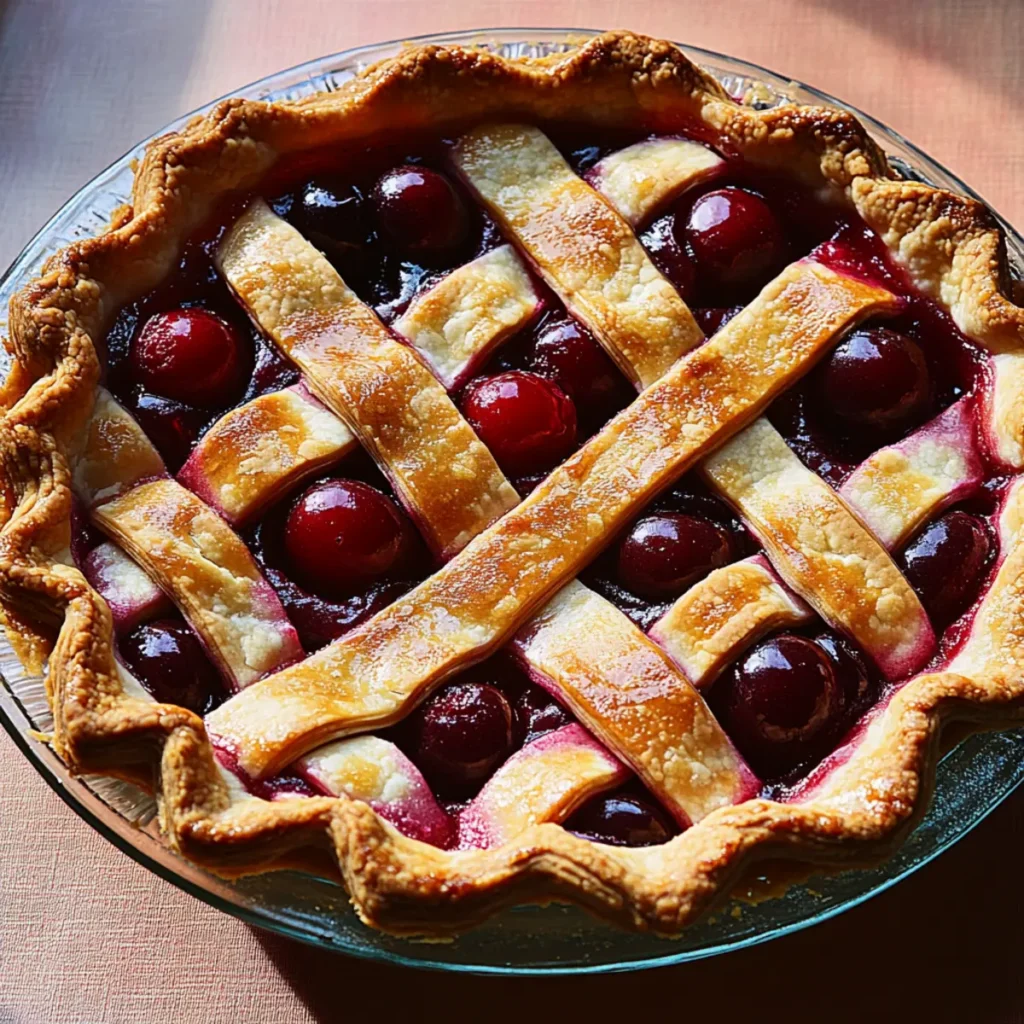
There’s something undeniably magical about a Cherry Pie With Lattice Crust. Its warm, inviting aroma wafts through the kitchen, blending sweet and tart notes that invite you to take a bite. The sight of that beautifully woven crust, golden brown and glistening with sugar, practically beckons you to indulge. These delights remind me of my grandmother’s kitchen, where summer days were spent plucking ripe cherries and turning them into the perfect pie that could grace any dessert table.
Whether it’s a cozy family gathering, a summer picnic, or simply a lazy Sunday afternoon, this Cherry Pie With Lattice Crust is the ultimate comfort food. The balance of flavors allows each spoonful to burst with joy, transporting you back to those cherished moments spent around the table, laughing and sharing stories. Let’s dive into the delightful world of this irresistible pie and make something truly special together!
Why You'll Love This Cherry Pie With Lattice Crust
- This incredible Cherry Pie With Lattice Crust transforms simple everyday ingredients into restaurant-quality flavors that will blow your mind completely.
- Foolproof recipe techniques guarantee perfect results every single time, making even novice cooks feel like professional chefs instantly.
- Stunning visual appeal with gorgeous colors and mouthwatering aromas creates the ultimate Instagram-worthy dish for any special occasion.
- Endlessly adaptable for different dietary needs while working beautifully for meal prep, date nights, or entertaining large groups effortlessly.
Ingredients for Cherry Pie With Lattice Crust
Here’s what you’ll need to make this delicious Cherry Pie With Lattice Crust:
4 cups fresh cherries – Make sure they are juicy and ripe for the best flavor. Pitting them can feel like a small workout, but it’ll be worth it.
1 cup granulated sugar – This sweetener balances the tartness of the cherries perfectly, giving the filling that luscious sweetness.
2 tbsp cornstarch – This thickener helps bind the juices, keeping your pie from turning into a juicy mess.
2 tsp lemon juice – A splash of acidity enhances the cherry flavor and brightens the overall taste.
2 cups all-purpose flour – The foundation for your flaky, tender crust that makes this pie truly unforgettable.
1 tsp salt – A crucial component for flavor; it enhances all the other ingredients incredibly.
1 cup unsalted butter – Chilled and cubed for better flakiness in your crust, it’s the secret to a perfect pie base.
5 tbsp ice water – Adding just the right amount helps bring the dough together without overworking it.
How to Make Cherry Pie With Lattice Crust
Follow these simple steps to prepare this delicious Cherry Pie With Lattice Crust:
Step 1: Prepare the Cherries
Begin by washing and pitting the cherries. This is where the magic starts! Set aside the cherries in a large bowl while you gear up for the next flavorful step.
Step 2: Make the Filling
In that same bowl, combine the cherries, granulated sugar, cornstarch, and lemon juice. Toss everything together gently until the cherries are well-coated and the juices start to mingle. This filling is sweet, tart, and downright irresistible.
Step 3: Prepare Your Dough
In a separate bowl, mix the flour and salt together. Incorporate the chilled, cubed butter using a pastry cutter or your fingers until the mixture resembles coarse crumbs. Gradually add the ice water, a tablespoon at a time, until the dough starts to come together. Once it forms a ball, divide the dough in half, wrap each half in plastic wrap, and chill for at least one hour.
Step 4: Roll Out Dough
After your dough has chilled, it’s time to roll it out! On a lightly floured surface, roll out one half to fit your pie dish. Once the dough is shaped, gently place it into the pie dish, making sure it covers the bottom and sides.
Step 5: Create the Lattice Top
Now for the fun part! Roll out the second half of the dough into strips. Arrange them in a crisscross pattern over the cherry filling. Overlap strips and trim any excess dough for a neat finish. Don’t forget to admire your creation; this lattice design is both beautiful and functional!
Step 6: Bake
Preheat your oven to 425°F (220°C). Brush the lattice top with melted butter and sprinkle a little sugar over it for that beautiful golden crust. Bake the pie for 45-50 minutes or until the crust is golden brown and the filling bubbles. Keep an eye on it to prevent over-browning.
When it’s finally out of the oven, let it cool for a while (if you can resist). Serve warm or at room temperature with a scoop of vanilla ice cream for the ultimate cherry pie experience. Enjoy every bite and all the compliments that come your way!
You Must Know About Cherry Pie With Lattice Crust
- This showstopping Cherry Pie With Lattice Crust delivers restaurant-quality results using simple ingredients you probably already have at home.
- The perfect balance of textures and flavors creates an unforgettable dining experience that will have everyone asking for seconds.
- Picture-perfect presentation with vibrant colors makes this dish absolutely Instagram-worthy and guaranteed to impress any dinner guest.
- Incredibly versatile recipe that works beautifully for weeknight dinners, meal prep, special occasions, or even outdoor entertaining sessions.
Perfecting Cherry Pie With Lattice Crust Cooking Process
Start by preparing the cherries so their juices can blend beautifully with the sugar and cornstarch. While that mingles together, focus on creating the dough, allowing it to chill while you weave the gorgeous lattice top.
Add Your Touch to Cherry Pie With Lattice Crust
Feel free to mix in a splash of almond extract for an added depth of flavor. You can also swap out some cherries for blueberries or even raspberries, creating your own delicious fruit medley.
Storing & Reheating Cherry Pie With Lattice Crust
To store your Cherry Pie With Lattice Crust, cover it with plastic wrap and keep it in the refrigerator for up to four days. Reheat slices in a warm oven for a few minutes to restore that fresh-baked goodness.
Chef's Helpful Tips for Cherry Pie With Lattice Crust
- This professional-quality Cherry Pie With Lattice Crust relies on precise timing and temperature control to achieve restaurant-standard results consistently.
- Master the art of mise en place by prepping all ingredients beforehand, ensuring smooth execution and preventing any last-minute cooking disasters.
- The secret lies in layering flavors throughout the cooking process rather than seasoning only at the end for maximum depth.
- Pro tip: let the finished dish rest for optimal texture and flavor development before serving to hungry guests waiting eagerly.
When I first baked this Cherry Pie With Lattice Crust, my family couldn’t stop raving about it! Their delighted reactions made me realize that this pie isn’t just a dessert; it’s a way to share joy and gather everyone around the table.
FAQs About Cherry Pie With Lattice Crust
What is Cherry Pie With Lattice Crust?
Cherry Pie With Lattice Crust is a visually stunning dessert that highlights the natural sweetness of fresh cherries. The lattice crust not only enhances its elegance but also allows steam to escape, ensuring a perfectly baked filling. Made with simple ingredients like cherries, sugar, and a buttery crust, this pie is a classic favorite loved by many. Each slice presents a delightful balance of tart and sweet flavors, making it a must-try for any dessert lover.
How do I make the perfect lattice crust for my cherry pie?
Creating the perfect lattice crust involves a little technique, but it’s absolutely worth it. After rolling out your dough, cut it into strips of equal width. Begin by laying half the strips across the pie filling, then fold back alternating strips to create a weaving effect. Once complete, trim any excess dough and tuck the edges underneath for a tidy finish. Brush the top with melted butter and sprinkle sugar for added texture and a golden finish—your guests will be impressed!
How long will my Cherry Pie With Lattice Crust last?
You can store your Cherry Pie With Lattice Crust in the fridge for up to four days. Just make sure to cover it with plastic wrap or aluminum foil to keep it fresh. If you want to enjoy it for longer, consider freezing it. When properly sealed, the pie can last in the freezer for up to three months. When you’re ready to eat it, simply thaw it overnight in the fridge and reheat in the oven for that freshly-baked taste.
Can I substitute other fruits in my Cherry Pie With Lattice Crust?
Absolutely! While cherries are the star of this recipe, you can mix and match different fruits for a delightful twist. Consider using blueberries, raspberries, or even peaches for a new flavor profile. Just be mindful of the fruit’s sweetness and adjust sugar accordingly. Mixing fruits can create a luscious medley that adds excitement and variety, keeping your dessert game strong.
Conclusion for Cherry Pie With Lattice Crust
Cherry Pie With Lattice Crust is not just a dessert; it’s a heartwarming treat that brings people together. With its delightful flavors and stunning presentation, it’s sure to impress at any gathering. By following the simple steps and using fresh ingredients, you can create a pie that perfectly balances sweetness and tartness. Make this delicious recipe, and watch it become a favorite in your home, leaving everyone craving more.
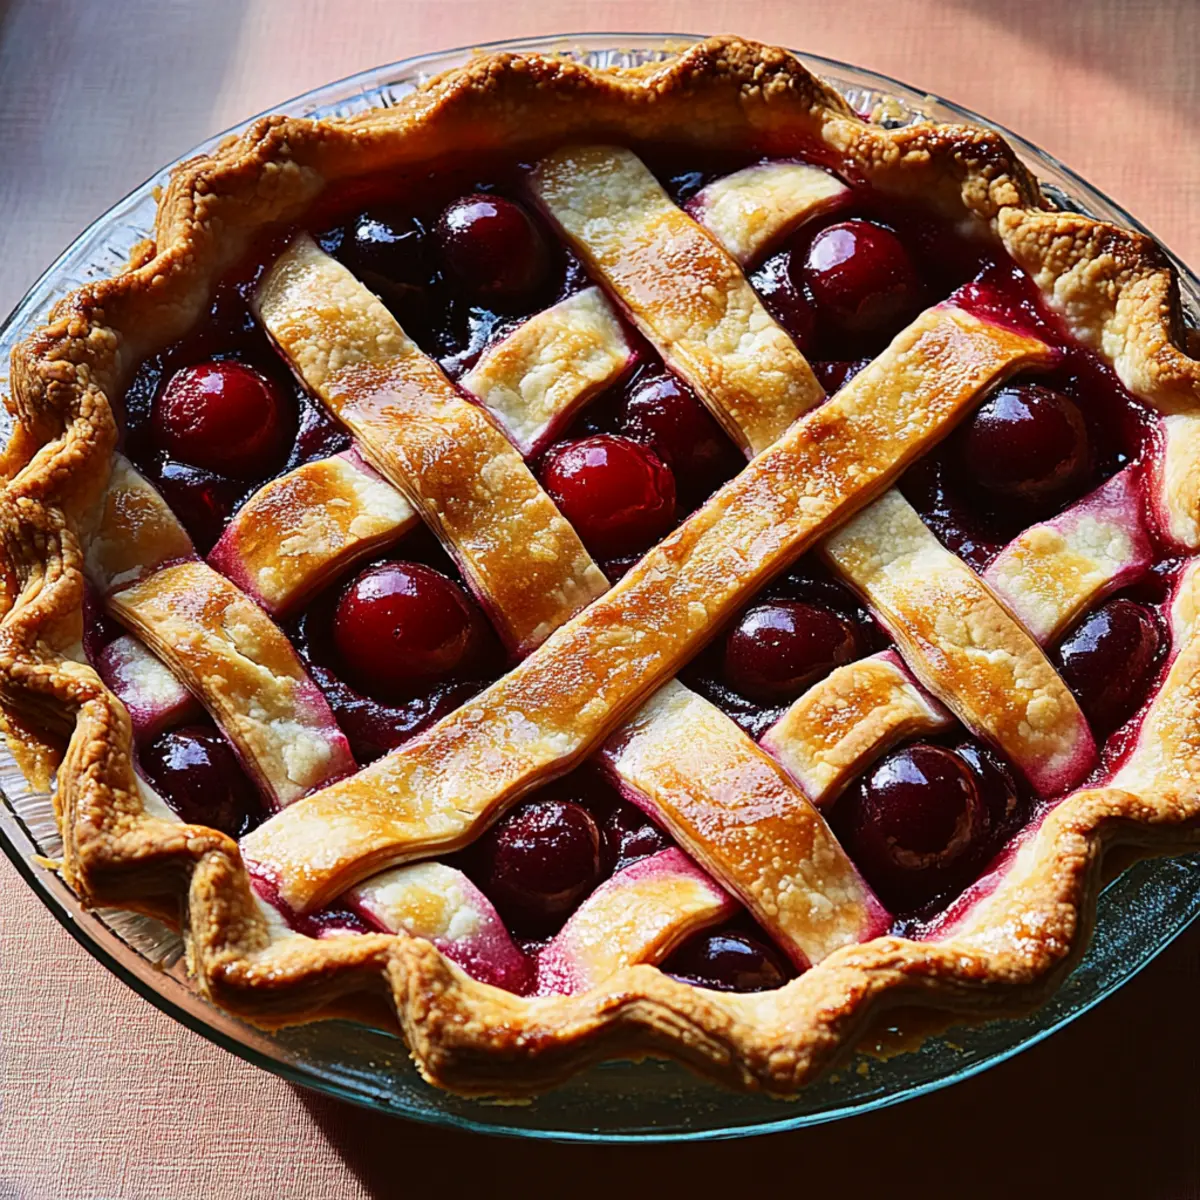
Cherry Pie With Lattice Crust
Ingredients
Equipment
Method
- Wash and pit the cherries.
- In a bowl, combine cherries, sugar, cornstarch, and lemon juice; toss to coat.
- Mix flour and salt in a bowl. Cut in butter until crumbly. Gradually add water until dough forms. Chill for at least one hour.
- Divide dough; roll out one half for the base crust and place it in the pie dish.
- Roll out the second half into strips; weave over the cherry filling.
- Preheat oven to 425°F (220°C). Brush with melted butter and sprinkle with sugar; bake for 45-50 minutes or until golden brown.