Indulging in a bite-sized treat, like Summer Homemade Cake Pops, can instantly elevate your summer gatherings and celebrations. Imagine a delightful concoction, where moist vanilla cake meets a rich chocolate coating, all beautifully adorned with vibrant sprinkles that excite the senses. This playful dessert is not only visually appealing but is sure to charm both kids and adults alike.
There’s a certain magic in the kitchen when you’re crafting these cake pops, making memories that stick longer than the sweet icing. Picture yourself enjoying a warm summer evening, a plateful of colorful cake pops in hand, and friends laughing nearby. Whether it’s a birthday bash, a backyard barbecue, or just a Friday night treat, these little wonders are bound to bring joy and deliciousness to any occasion.
Why You'll Love This Summer Homemade Cake Pops
- This incredible Summer Homemade Cake Pops transforms simple everyday ingredients into restaurant-quality flavors that will blow your mind completely.
- Foolproof recipe techniques guarantee perfect results every single time, making even novice cooks feel like professional chefs instantly.
- Stunning visual appeal with gorgeous colors and mouthwatering aromas creates the ultimate Instagram-worthy dish for any special occasion.
- Endlessly adaptable for different dietary needs while working beautifully for meal prep, date nights, or entertaining large groups effortlessly.
Ingredients for Summer Homemade Cake Pops
Here’s what you’ll need to make this delicious Summer Homemade Cake Pops:
1 box vanilla cake mix – This is the foundation of your cake pops, providing the perfect moist texture. You can use any brand, but choose one you trust for great results.
3 large eggs – Eggs help bind your mix and give it richness. Be sure they’re at room temperature for best results.
1 cup water – This helps to hydrate your cake mix, ensuring a tender crumb. You can even replace it with milk for a creamier flavor.
1/2 cup vegetable oil – Oil keeps your cake moist and adds a soft texture. Don’t substitute with butter, as it can change the texture.
2 cups chocolate melting wafers – Essential for coating your cake pops with luscious chocolate. Look for high-quality wafers for the best flavor and ease.
1 tablespoon coconut oil – This is added to the melting chocolate to achieve a smoother consistency, making it easier to coat your cake pops.
1 cup sprinkles – A fun finishing touch, sprinkles elevate both the look and texture, adding a crunch to each bite.
How to Make Summer Homemade Cake Pops
Follow these simple steps to prepare this delicious Summer Homemade Cake Pops:
Step 1: Prepare the Cake Mix
Preheat your oven according to the package instructions on the cake mix. In a large mixing bowl, combine the cake mix, eggs, water, and vegetable oil. Whisk until smooth, ensuring there are no lumps. Pour the batter into a greased baking pan and bake as directed. Your kitchen will soon smell like a bakery.
Step 2: Crumble the Cake
Once the cake has cooled completely (this step is crucial), gently remove it from the pan and place it on a clean countertop. Using your hands, crumble the cake into fine pieces in a large mixing bowl. It should resemble a soft sand texture, perfect for rolling into balls.
Step 3: Create Cake Balls
Using your hands or a small cookie scoop, roll the cake crumbs into small balls, about 1 inch in diameter. Place these on a baking sheet lined with parchment paper. Keep in mind that uniformity in size ensures even coating and a beautiful presentation.
Step 4: Chill the Cake Balls
Pop the baking sheet with the cake balls into the refrigerator for about 30 minutes. This chilling time makes them easier to work with when dipping in chocolate. Trust me; it’ll save you from a sticky situation later on.
Step 5: Melt the Chocolate
In a microwave-safe bowl or using a double boiler, combine the chocolate melting wafers and coconut oil. Heat them in short bursts (15-30 seconds), stirring in between until smooth and glossy. The consistency should be thin enough to coat but thick enough to stick to the cake balls.
Step 6: Dip and Decorate
Remove the cake balls from the refrigerator. Dip one end of your lollipop stick into the melted chocolate and quickly insert it deep into the center of a cake ball. This helps to anchor the stick. Then, dip the entire cake ball into the chocolate mixture, covering it completely. Allow any excess chocolate to drip off, then roll in the colorful sprinkles for a dazzling touch. Set aside to allow the chocolate coating to harden.
Once they’re set, arrange your Summer Homemade Cake Pops on a platter for the perfect presentation. These little beauties are ready to wow your guests! Each bite bursts with delightful flavors sure to satisfy any sweet tooth!
Enjoying these delectable Summer Homemade Cake Pops is more than just a taste experience; it’s a celebration of creativity, fun, and shared moments. So, whether you’re hosting a party or simply treating yourself after a long day, dive into the joy of homemade desserts! Happy baking!
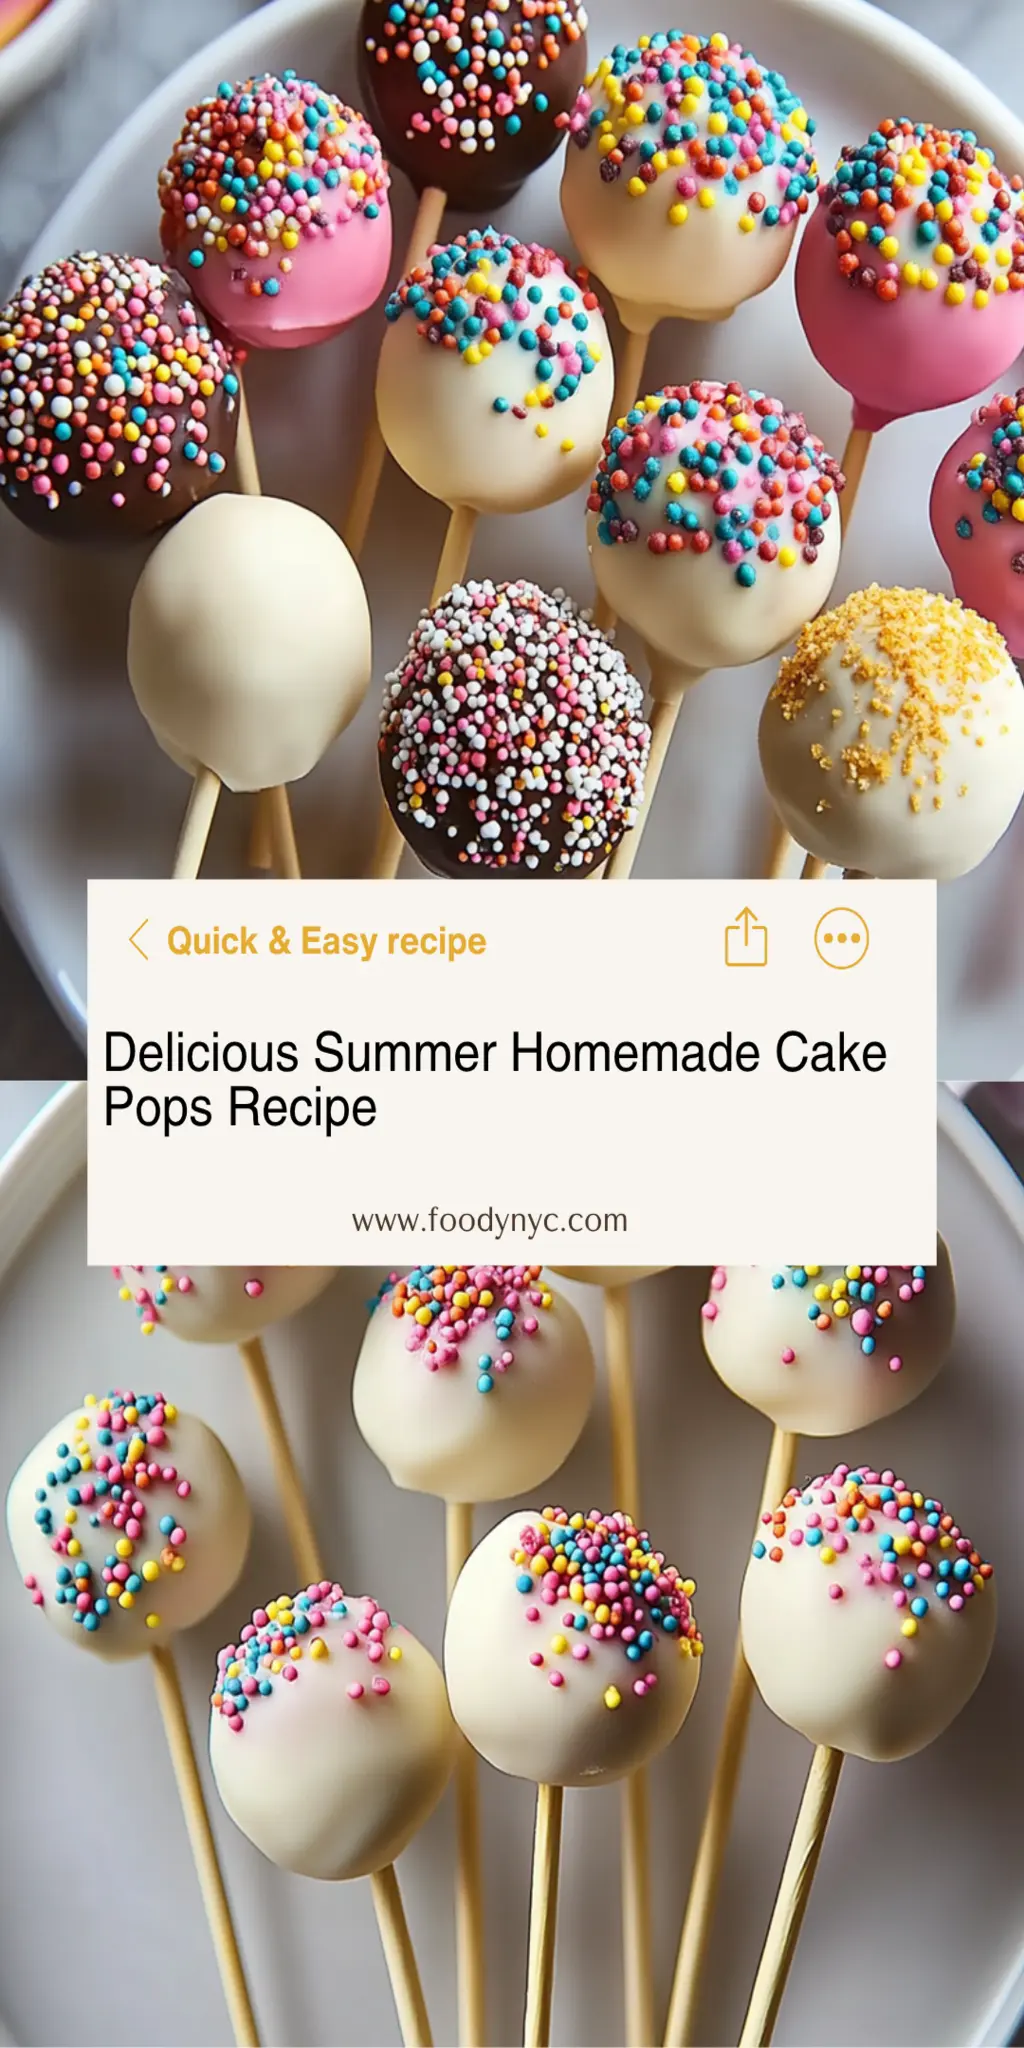
This showstopping Summer Homemade Cake Pops delivers restaurant-quality results using simple ingredients you probably already have at home. The perfect balance of textures and flavors creates an unforgettable dining experience that will have everyone asking for seconds. Picture-perfect presentation with vibrant colors makes this dish absolutely Instagram-worthy and guaranteed to impress any dinner guest. Incredibly versatile recipe that works beautifully for weeknight dinners, meal prep, special occasions, or even outdoor entertaining sessions.
Perfecting Summer Homemade Cake Pops Cooking Process
To cook Summer Homemade Cake Pops efficiently, first prepare the cake mix and bake it. While the cake cools, you can prep your workspace and melt the chocolate. This way, everything flows seamlessly for perfect pops.
Add Your Touch to Summer Homemade Cake Pops
Feel free to customize your Summer Homemade Cake Pops by using different cake flavors, like chocolate or red velvet. You can also experiment with flavored coatings like white chocolate or even caramel for a decadent twist.
Storing & Reheating Summer Homemade Cake Pops
Store your Summer Homemade Cake Pops in an airtight container in the refrigerator for up to a week. They can be left at room temperature for brief periods but should ideally remain chilled to preserve freshness.
Chef's Helpful Tips for Summer Homemade Cake Pops
- This professional-quality Summer Homemade Cake Pops relies on precise timing and temperature control to achieve restaurant-standard results consistently.
- Master the art of mise en place by prepping all ingredients beforehand, ensuring smooth execution and preventing any last-minute cooking disasters.
- The secret lies in layering flavors throughout the cooking process rather than seasoning only at the end for maximum depth.
- Pro tip: let the finished dish rest for optimal texture and flavor development before serving to hungry guests waiting eagerly.
Sharing Summer Homemade Cake Pops at my last family reunion was a highlight. Everyone adored them, and my aunt even claimed they were the best dessert she’d ever had, which earned me instant bragging rights.
FAQs About Summer Homemade Cake Pops
What is Summer Homemade Cake Pops?
Summer Homemade Cake Pops are delightful treats made from crumbled vanilla cake mixed with frosting, rolled into bite-sized balls, and coated in chocolate. These sweet morsels are perfect for warm weather gatherings and celebrations, providing a fun and portable dessert option. The cake pops are customizable, allowing you to choose different cake flavors and toppings, making them versatile and appealing to diverse tastes. Ideal for kids and adults alike, they can elevate any occasion with a splash of color and sweetness.
Can I customize my Summer Homemade Cake Pops?
Absolutely! The beauty of Summer Homemade Cake Pops lies in their versatility. You can experiment with various cake flavors beyond vanilla, such as chocolate, red velvet, or even lemon. For the coatings, consider using white chocolate, colored candy melts, or even a flavored drizzle to make your pops stand out. The possibilities are endless, allowing you to create unique flavors and presentations tailored to your taste or occasion, ensuring your cake pops are the stars of any dessert table.
How should I store my Summer Homemade Cake Pops?
To keep your Summer Homemade Cake Pops fresh, store them in an airtight container in the refrigerator. They’ll maintain their ideal texture and taste for about a week. If you plan to serve them later, just let them sit at room temperature for a short time before serving to bring back their delightful softness. Avoid leaving them in direct sunlight or high temperatures, as this can cause the chocolate coating to melt and lose its charm.
What occasions are perfect for serving Summer Homemade Cake Pops?
Summer Homemade Cake Pops are perfect for a wide range of occasions! Whether you’re hosting birthday parties, summer barbecues, or even bridal or baby showers, these colorful treats add a fun element to your dessert spread. They also make excellent gifts for friends or neighbors, especially during festive seasons. Their portability and eye-catching appearance make them a hit with guests of all ages, ensuring everyone enjoys a sweet bite of summer.
Conclusion for Summer Homemade Cake Pops
In summary, Summer Homemade Cake Pops are a delightful and flexible treat that can brighten any gathering. Combining ease of preparation with endless customization options makes them ideal for various events. Remember, a batch of these scrumptious pops can elevate your desserts and impress your guests. Whether it’s a summer party or a casual family gathering, serving Summer Homemade Cake Pops is sure to bring smiles and satisfaction all around.


Summer Homemade Cake Pops
Ingredients
Equipment
Method
- Prepare the cake mix according to the package instructions using the eggs, water, and vegetable oil.
- Bake the cake as directed and allow it to cool completely.
- Crumble the cooled cake into a large bowl until fine.
- Roll the cake crumbs into small balls and place them on a baking sheet.
- Chill the cake balls in the refrigerator for at least 30 minutes.
- Melt the chocolate melting wafers along with the coconut oil in a microwave or double boiler until smooth.
- Dip the end of a lollipop stick into the melted chocolate, then insert the stick into each cake ball.
- Coat each cake pop with the melted chocolate.
- Sprinkle with various colored sprinkles before the chocolate hardens.
- Allow the cake pops to set completely before serving.