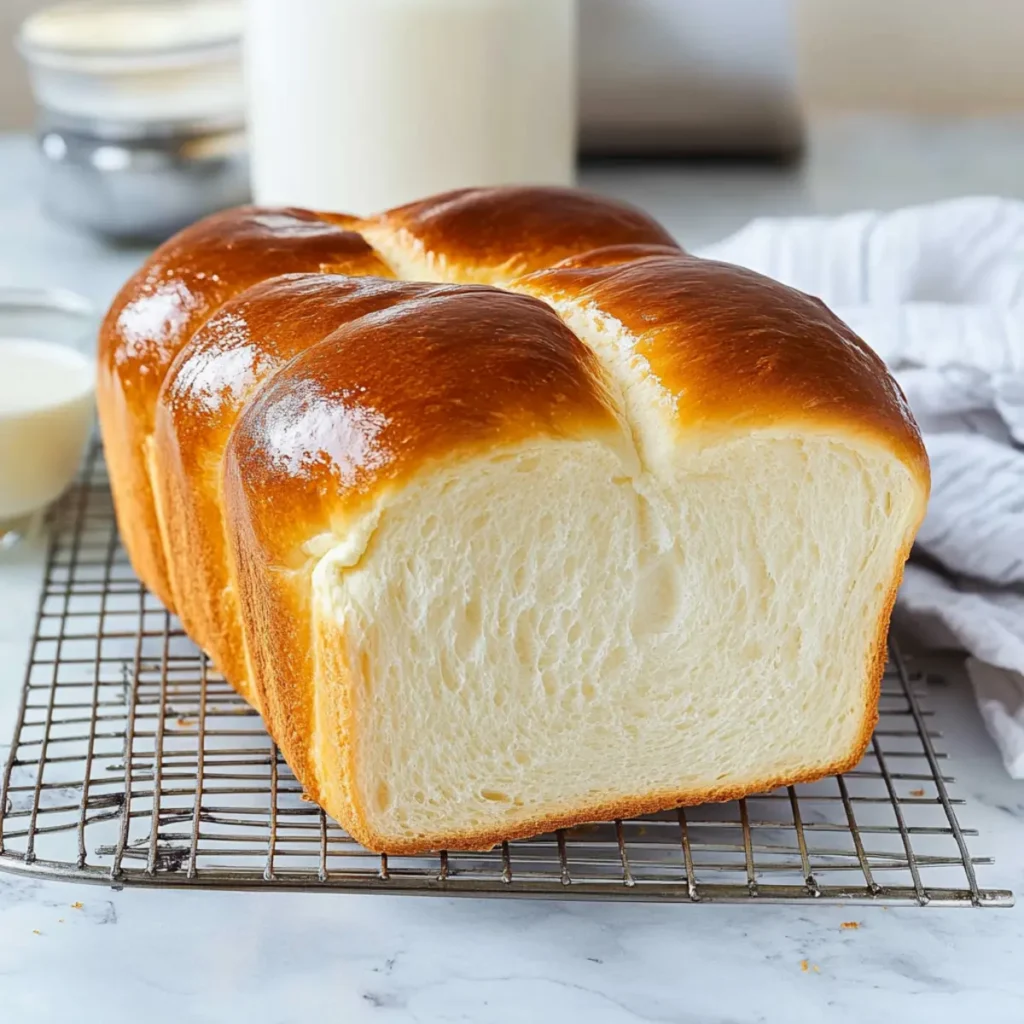
Milk Bread is your new best friend in the kitchen, elevating your home-baking game from “meh” to “Wow!” in just a few blissful hours. Picture this soft, fluffy loaf cradling clouds of flavor, with a golden crust that practically whispers sweet nothings as it cools on your kitchen counter. The moment the warm loaf whispers its buttery aromas through your home, it’ll capture your heart—and hunger—with sheer delight.
There’s something magical about Milk Bread that transports me back to my childhood, where buttery slices slathered with jam were my ultimate comfort food. This bread is perfect for family brunches, cozy evenings by the fire, or just because you’re having a fabulous Tuesday. The moment you slice into this loaf, anticipation builds with a promise of warmth and nostalgia, making every bite an unforgettable experience.
Why You'll Love This Milk Bread
- This incredible Milk Bread transforms simple everyday ingredients into restaurant-quality flavors that will blow your mind completely.
- Foolproof recipe techniques guarantee perfect results every single time, making even novice cooks feel like professional chefs instantly.
- Stunning visual appeal with gorgeous colors and mouthwatering aromas creates the ultimate Instagram-worthy dish for any special occasion.
- Endlessly adaptable for different dietary needs while working beautifully for meal prep, date nights, or entertaining large groups effortlessly.
Ingredients for Milk Bread
Here’s what you’ll need to make this delicious Milk Bread:
4 cups all-purpose flour – This is the backbone of your bread, creating that necessary structure while remaining soft and fluffy.
1 cup whole milk – The secret to the tenderness of this bread, providing richness and moisture that keeps each slice delectable.
1/4 cup granulated sugar – Just the right amount to balance the flavors, helping achieve that golden crust while adding a hint of sweetness.
2 1/4 tsp active dry yeast – The magic ingredient that makes your bread rise and turn into the fluffy wonder it becomes.
1 tsp salt – A small but vital addition to enhance flavor and help control yeast activity, ensuring perfect texture every time.
1/4 cup unsalted butter, melted – This luscious fat provides richness and flavor, ensuring that every bite melts in your mouth.
How to Make Milk Bread
Follow these simple steps to prepare this delicious Milk Bread:
Step 1: Activate the Yeast
Pour the warm milk into a small bowl, adding the sugar. Sprinkle the yeast on top, giving it a gentle stir before letting it sit for about 5-10 minutes or until it gets frothy like a mini cappuccino.
Step 2: Mix the Dry Ingredients
In a large bowl, whisk together the flour and salt. Think of it as creating a solid foundation for your fluffy kingdom of Milk Bread.
Step 3: Combine Wet and Dry Ingredients
Pour the frothy yeast mixture and melted butter into the dry ingredients. Using a spatula, stir until everything is well combined and ready to join forces for bread-making glory.
Step 4: Knead the Dough
Turn the dough onto a floured surface and knead for about 10 minutes, channeling your inner baker as you work the dough into a smooth, elastic ball. Don’t be shy—put your back into it!
Step 5: Let It Rise
Place your dough in an oiled bowl, cover it with plastic wrap or a kitchen towel, and let it rise in a warm spot until it doubles in size, which usually takes about 1 hour. You can use this time to catch up on your favorite show or simply daydream about all the ways you will enjoy this Milk Bread.
Step 6: Shape and Second Rise
Once risen, punch down the dough to release any air bubbles, shape it into a loaf, and place it in a greased loaf pan. Cover it again, letting it rise for another 30 minutes while you preheat your oven to 350°F (175°C).
Step 7: Bake and Enjoy
After the second rise, pop that loaf into the oven and bake for 30-35 minutes until it’s golden brown and fragrant. Let it cool slightly before slicing, and get ready to indulge!
Serve it warm with butter and jam, or use it to make the ultimate grilled cheese sandwich. Whatever you choose, your taste buds are in for a delightful treat. Enjoy the adventure of creating the softest, loveliest Milk Bread right in your own kitchen—what’s better than that?
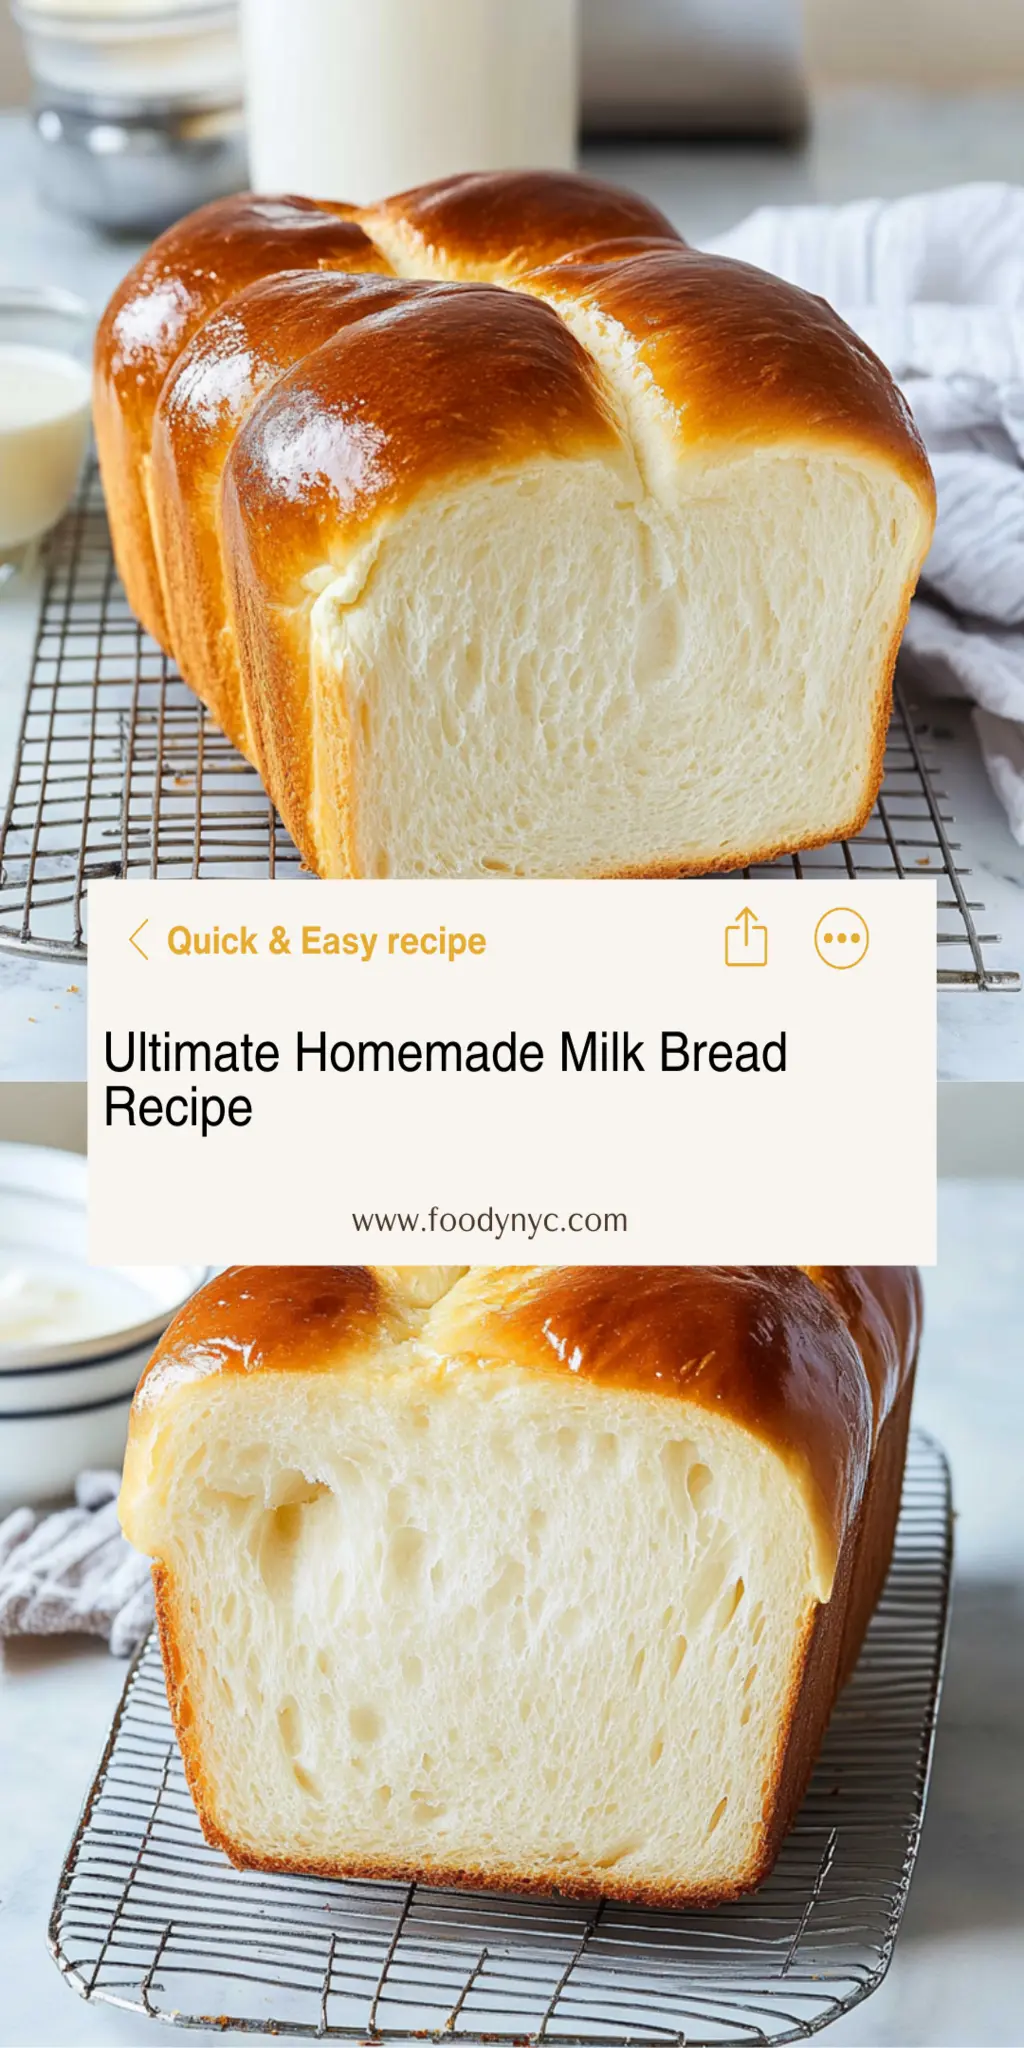
This showstopping Milk Bread delivers restaurant-quality results using simple ingredients you probably already have at home. The perfect balance of textures and flavors creates an unforgettable dining experience that will have everyone asking for seconds. Picture-perfect presentation with vibrant colors makes this dish absolutely Instagram-worthy and guaranteed to impress any dinner guest. Incredibly versatile recipe that works beautifully for weeknight dinners, meal prep, special occasions, or even outdoor entertaining sessions.
Perfecting Milk Bread Cooking Process
To achieve a soft and fluffy Milk Bread, start with the yeast and milk mixture, allowing it to froth while you prepare the dry ingredients. Kneading the dough well ensures the gluten develops properly for that desired texture.
Add Your Touch to Milk Bread
Feel free to customize your Milk Bread by adding herbs for flavor, swapping whole milk for almond milk for a dairy-free option, or mixing in seasonal spices like cinnamon or nutmeg for a warm twist.
Storing & Reheating Milk Bread
Store your Milk Bread in an airtight container at room temperature for up to three days. For reheating, simply pop slices in the toaster or microwave for a few seconds to restore that fresh-out-of-the-oven warmth.
Chef's Helpful Tips for Milk Bread
- This professional-quality Milk Bread relies on precise timing and temperature control to achieve restaurant-standard results consistently.
- Master the art of mise en place by prepping all ingredients beforehand, ensuring smooth execution and preventing any last-minute cooking disasters.
- The secret lies in layering flavors throughout the cooking process rather than seasoning only at the end for maximum depth.
- Pro tip: let the finished dish rest for optimal texture and flavor development before serving to hungry guests waiting eagerly.
Making Milk Bread always reminds me of lazy Sundays at my grandma’s house, where the sweet aroma filled the air, and we would devour slices smothered in butter while sharing stories around the table.
FAQs About Milk Bread
What is Milk Bread?
Milk Bread is a soft, slightly sweet bread that is made with milk, giving it a rich flavor and a tender crumb. It’s known for its fluffy texture that makes it perfect for sandwiches, toast, or even as a side to soups and stews. The milk not only enhances the taste but also helps in achieving a golden brown crust when baked. If you’ve never tried it, you’re in for a delightful treat that’s both comfort food and versatile in the kitchen.
How do I store Milk Bread?
To keep your Milk Bread fresh and delicious, store it in an airtight container at room temperature. This will preserve its soft texture for up to three days. If you need to keep it longer, consider wrapping it tightly in plastic wrap and placing it in the freezer, where it can last for about a month. When you’re ready to enjoy it again, simply let it thaw or pop it in the toaster for a warm slice reminiscent of fresh-baked goodness.
Can I make Milk Bread without dairy?
Absolutely! You can easily make a dairy-free version of Milk Bread by substituting whole milk with almond milk, coconut milk, or any other plant-based milk. Ensure that the non-dairy milk you choose has a similar fat content to whole milk to keep the texture rich and moist. You can also use dairy-free butter or oil to maintain the same tender crumb that’s characteristic of traditional Milk Bread.
What toppings are best for Milk Bread?
The great thing about Milk Bread is its versatility when it comes to toppings. You can enjoy it simply with butter and jam or try something more adventurous like avocado and poached eggs for breakfast. For a sweet treat, consider slathering it with Nutella or cream cheese frosting. Additionally, it pairs beautifully with soups or stews, acting as the ultimate vehicle for soaking up delicious flavors.
Conclusion for Milk Bread
In conclusion, Milk Bread stands out as a delightful bread that balances flavor and texture beautifully. Made with simple ingredients, it offers versatility for all meals of the day. Whether you enjoy it as sandwiches or sweet toast, this recipe is sure to become a family favorite. Celebrate the joy of baking by preparing your own Milk Bread, and savor the delicious moments shared around the table with loved ones.
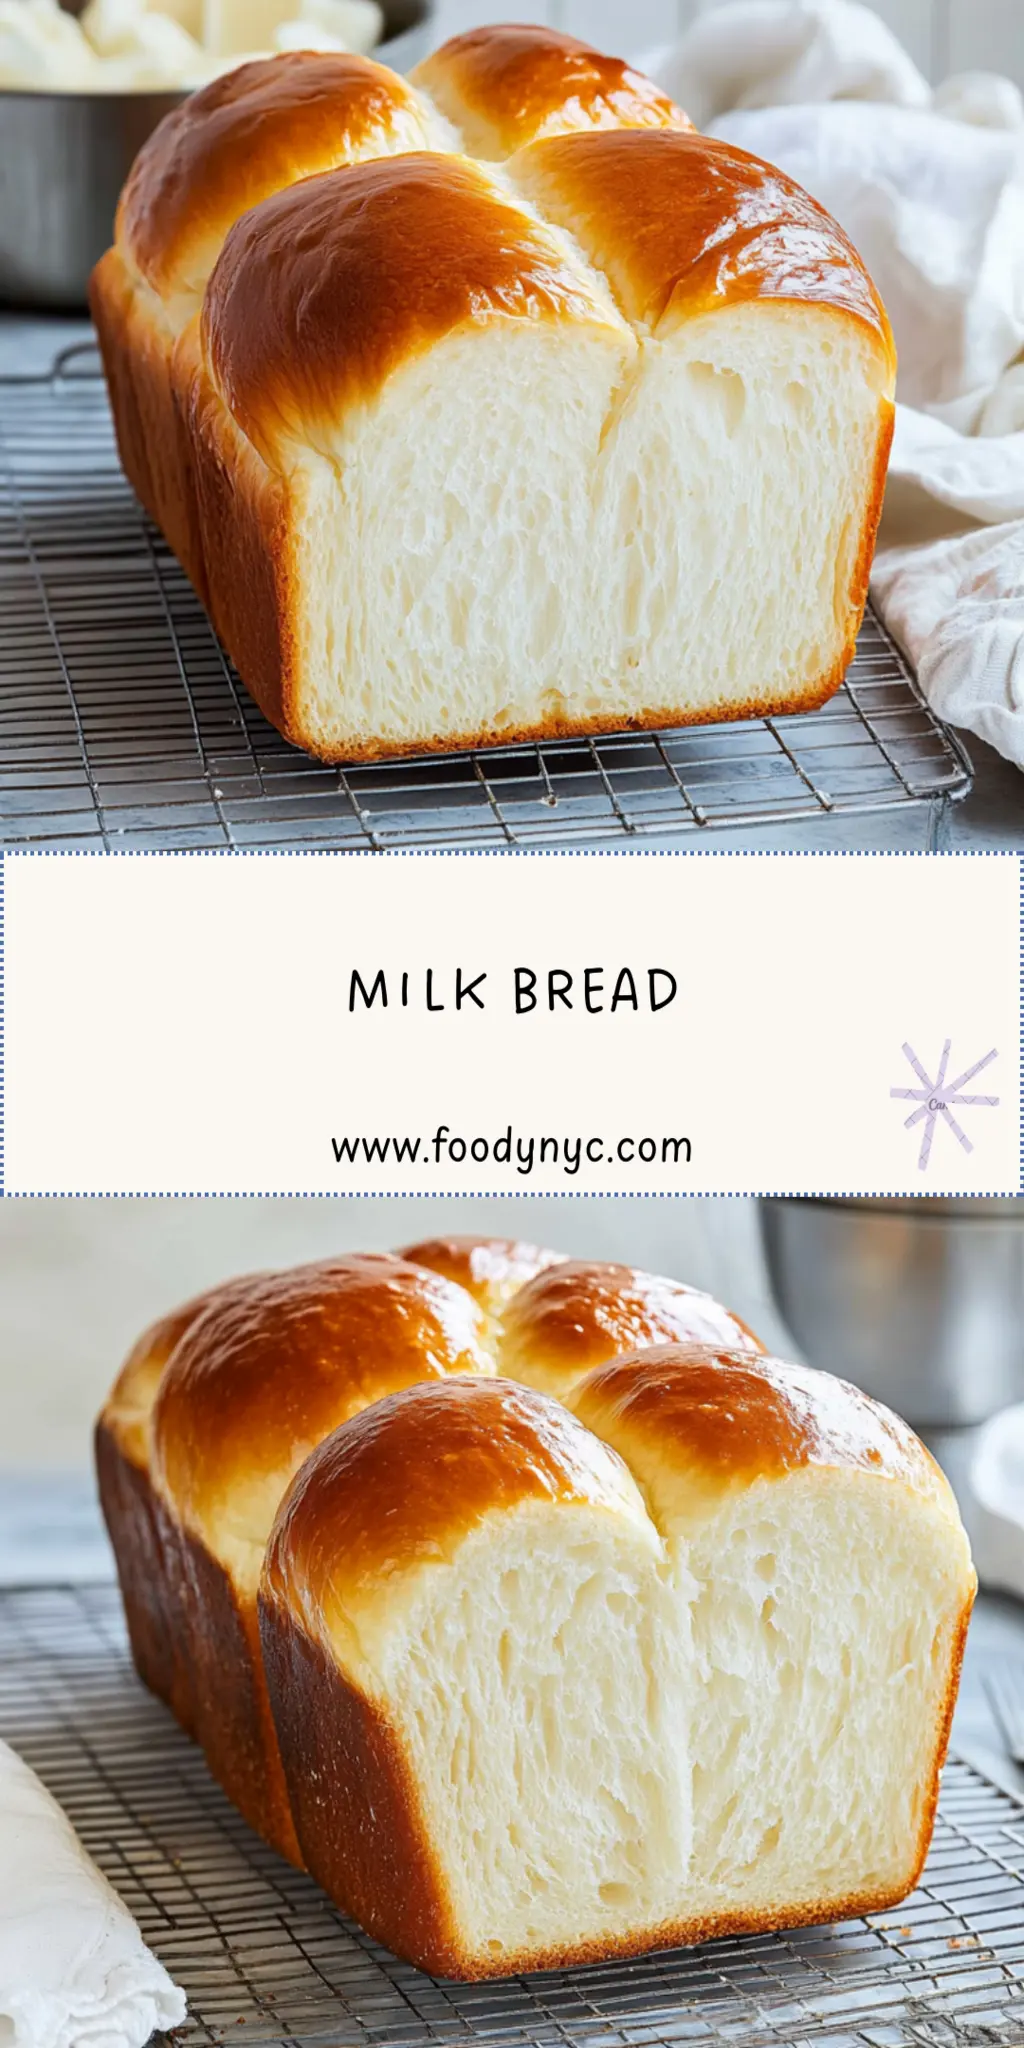
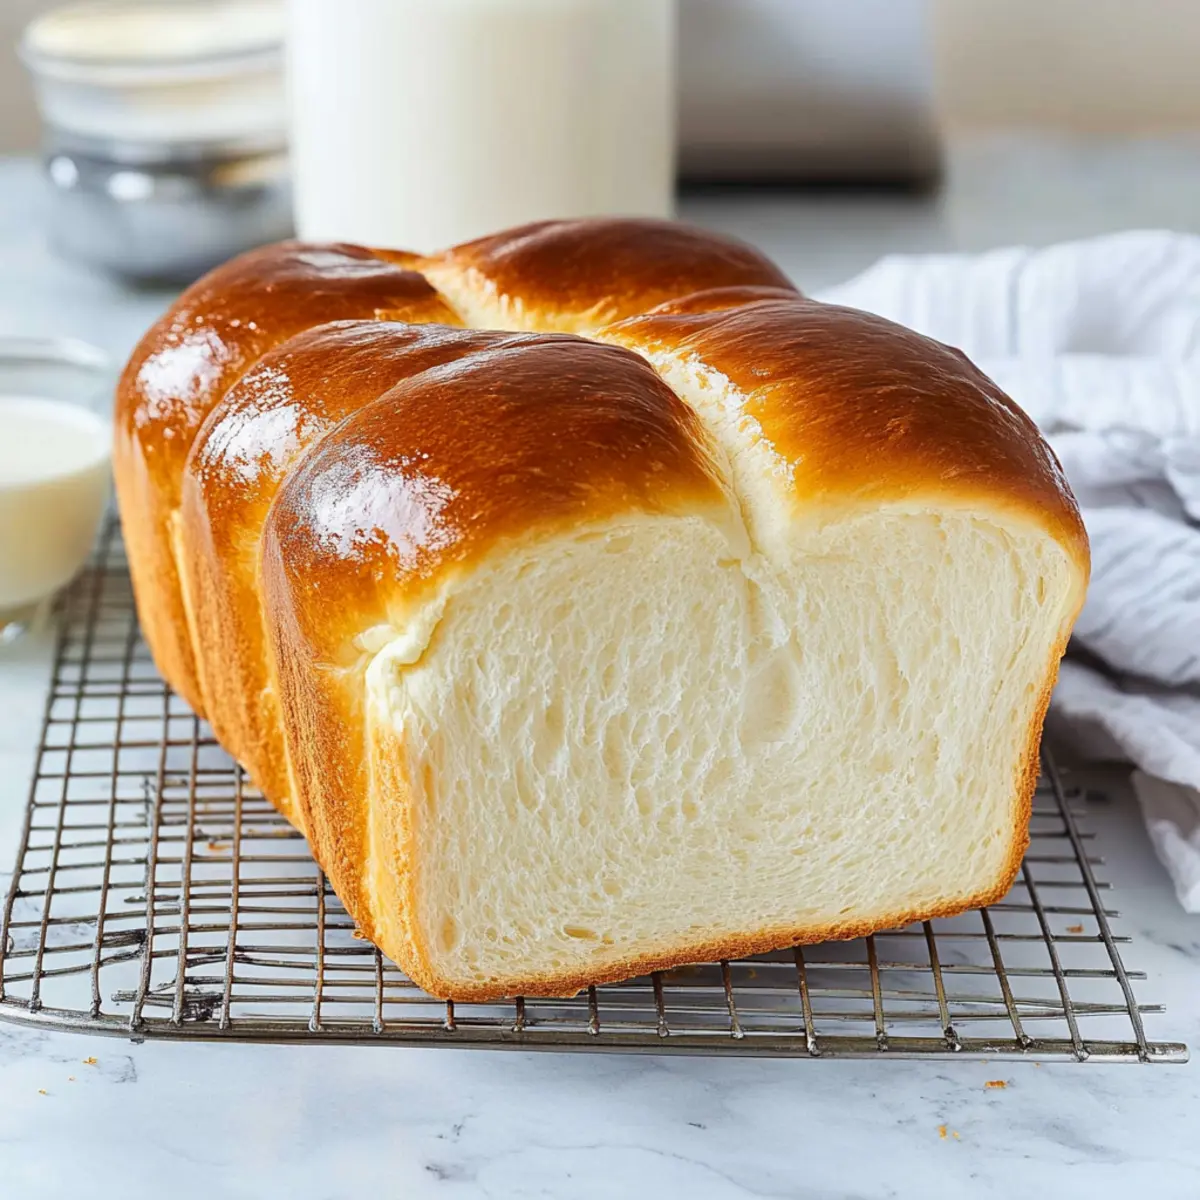
Easy Homemade Milk Bread Recipe for Soft and Fluffy Loaves
Ingredients
Equipment
Method
- In a small bowl, combine warm milk and sugar. Sprinkle yeast on top and let sit for 5-10 minutes until frothy.
- In a large bowl, whisk together flour and salt until combined.
- Pour the frothy yeast mixture and melted butter into the dry ingredients. Stir until well combined.
- Turn dough onto a floured surface and knead for about 10 minutes until smooth and elastic.
- Place in an oiled bowl, cover with plastic wrap, and let rise in a warm spot until doubled in size (about 1 hour).
- Punch down the dough, shape into a loaf, place in greased loaf pan, cover, and let rise again for about 30 minutes while preheating oven to 350°F (175°C).
- Bake for 30-35 minutes until golden brown.